There are various methods of migration for moving IMAP mailboxes to Office 365. If you have a little number of mailboxes to migrate, you can export the PST file from Gmail (in Outlook) to Office 365 (in Outlook). There are many tools available to perform this, or you can contact the Office 365 migration service provider to do this task for you. There is also another way to migrate using Fastrack Specialists from Microsoft if the environment is big enough. Your Google environment should consist of APIs and Admin SDK which are enabled for extended functionalities. Also, manual IMAP migrations can be performed by the user, but contacts and calendar information will not be migrated.
Pre-requisites
Here are a few limitations to consider before moving on with the migration.
Only items in a user’s inbox or other mail folders will migrate. Contacts, calendar items, or tasks will not be migrated. Although, later on, you can import/export contacts/calendars using Outlook.A maximum number of 500,000 items for a user’s mailbox will be migrated. Do note that emails will be migrated from newest to oldest.The biggest email that can be migrated will be of 35 MB in size.If the connections to your Gmail are limited then increase these connections limits to improve migration performance. Connection limits usually include client/server total connections, IP address connections and per-user connections on the server/firewall.
The Steps Required to Migrate from Gmail to Office 365
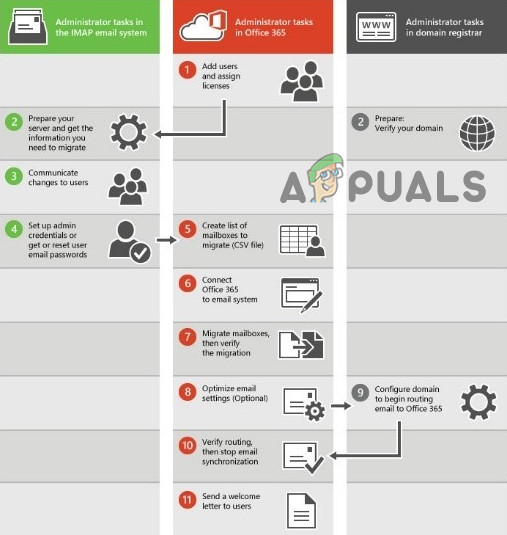
The following major steps will be used during the migration process.
Step-1: Preparations
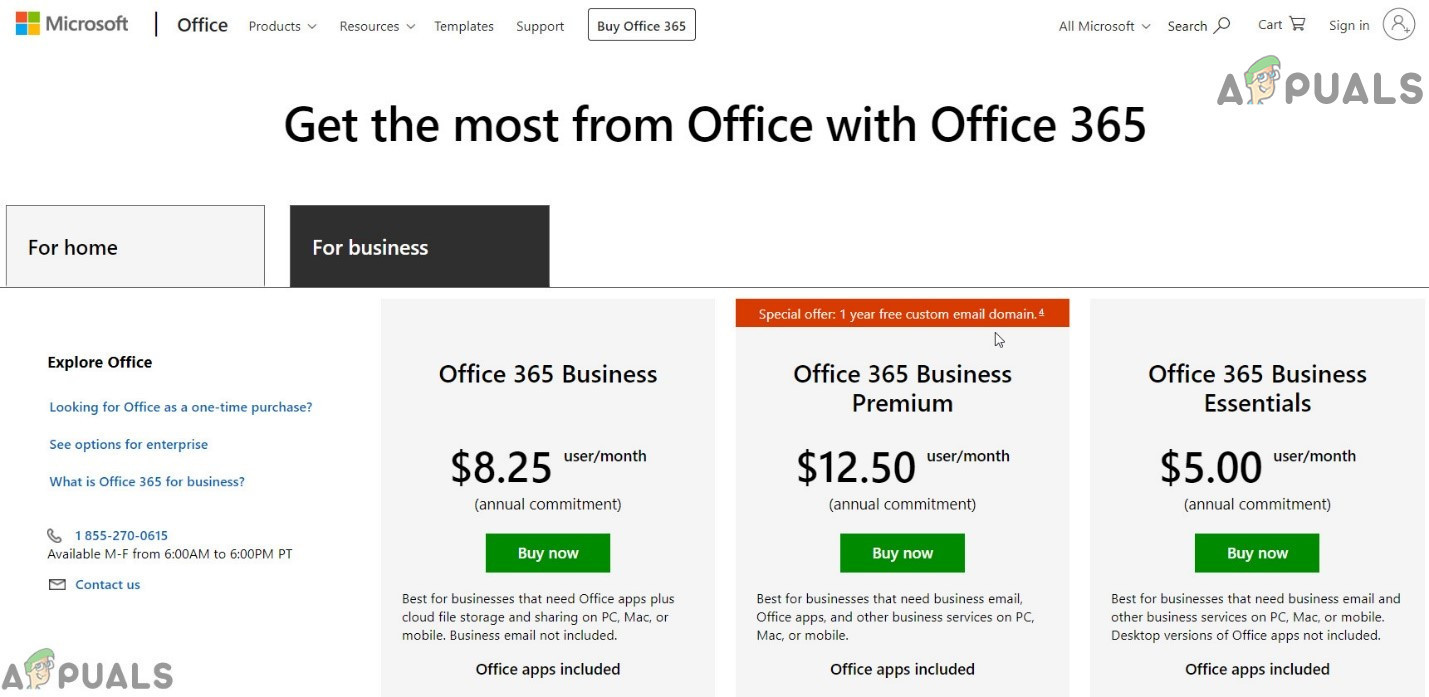
The first step would be to sign up for Office 365 if not done already. If you are not sure about which subscription of Office 365 to choose, go with the most basic version if it fulfills your requirements and then, later on, you can add other things on top of it. For details, you can compare Office 365 plans. Once you sign-up, you’ll create an account which will be an admin account. Later on, if you want, you can change this account to a regular account and make some other account as an administrator. We will need an administrator account of Office 365 to complete the migration operation. Gmail views Outlook as a less secure app and thus G suite users are required to use a password and 2-step verification to connect the app to Office 365. If you are not going to use users’ mailbox with Outlook till the completion of migration, then there is no need to use password and 2-step verification. For the migration, users’ mailboxes will be initially created in office 365, and then connected to the corresponding Gmail mailboxes. The emails will be syncing on an on-going basis until you make the final cut-over, which will enable users to send and receive emails via Gmail and the syncing is taking place in the background until the final cut-over is made.
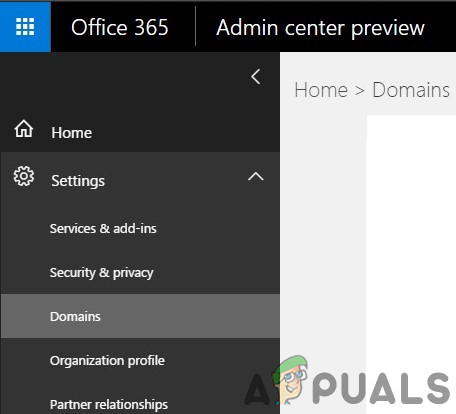
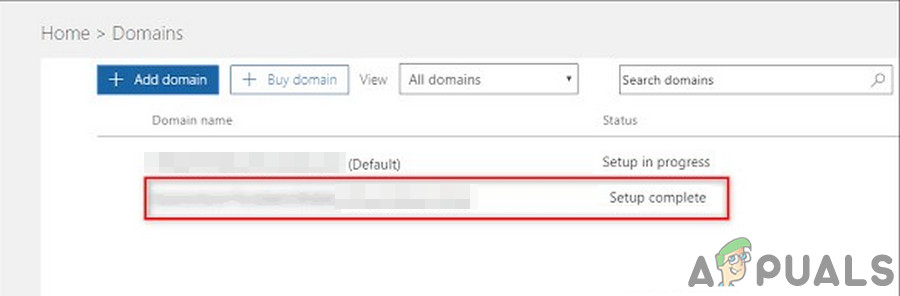
Step-2: Verify Your Domain in Office 365
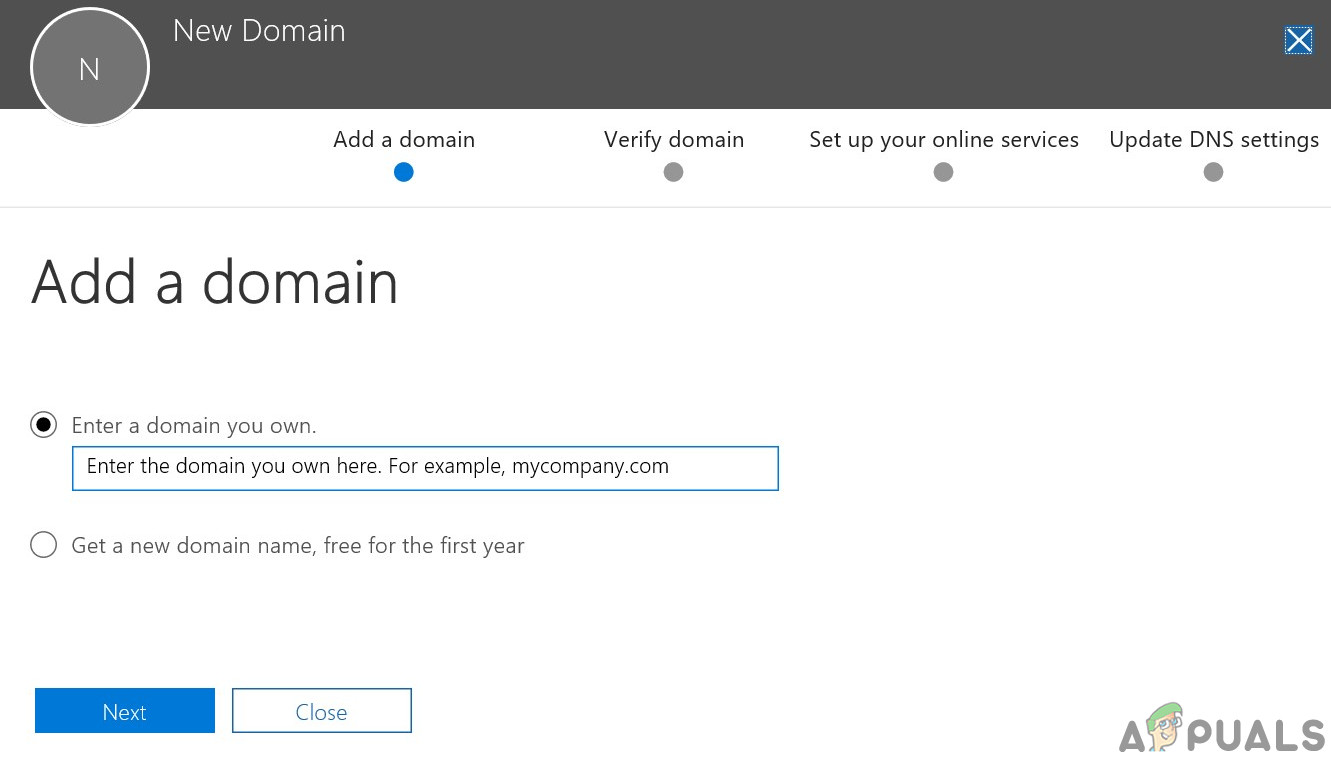
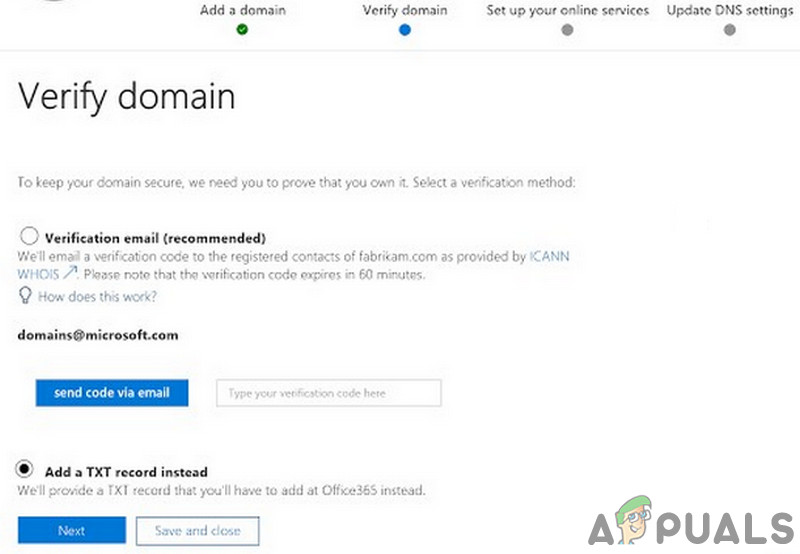
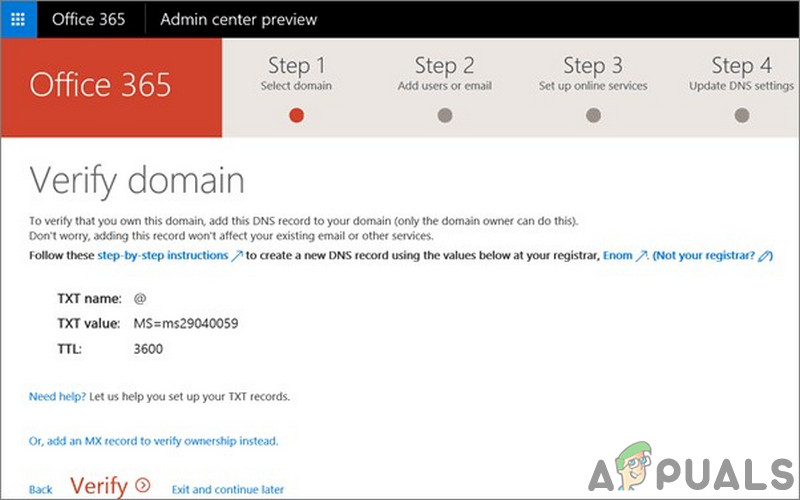
Firstly, the user must verify to Office 365 that he owns the domain which is used for the Gmail Account. If you can successfully log-in to your domain registrar account, you can create the DNS record for your domain. This is enough for Office 365 that you own the domain name. If you are having issues with logging-in the domain registrar account, then you can opt to use as the domain, which is part of their Office 365 subscription and then add users to Office 365. If you opted for domain verification, you will be prompted to complete this during the Office 365 setup by adding the TXT record that the setup wizard provides at the company’s domain host provider. TXT name: @ TXT Value: MS=ms1234567 TTL: 3600
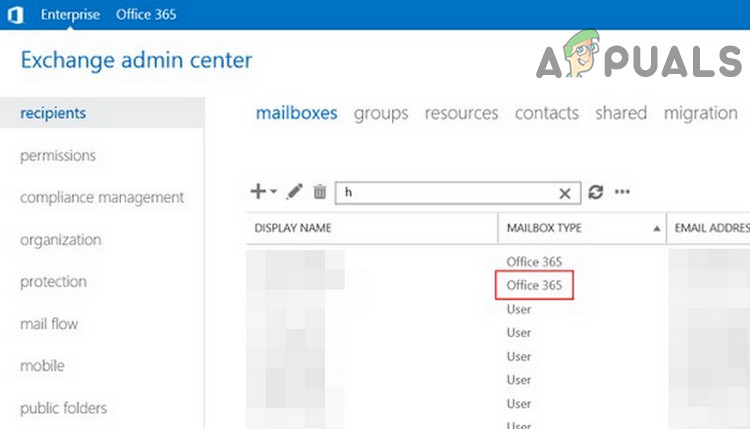
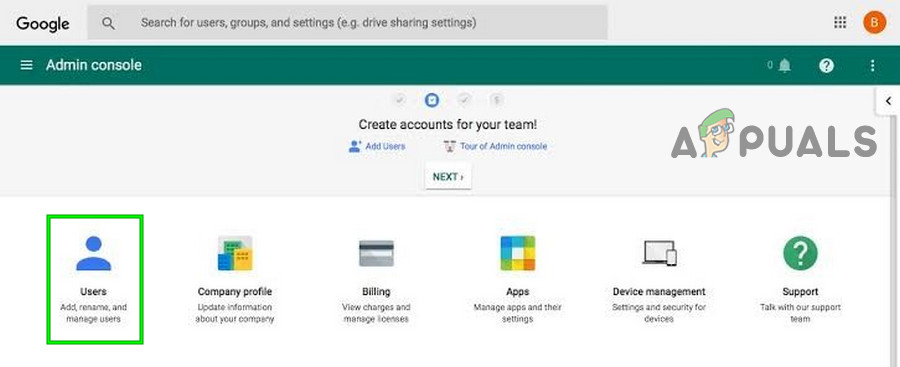
Step-3: Create User Mailboxes & Assign Office 365 Licenses
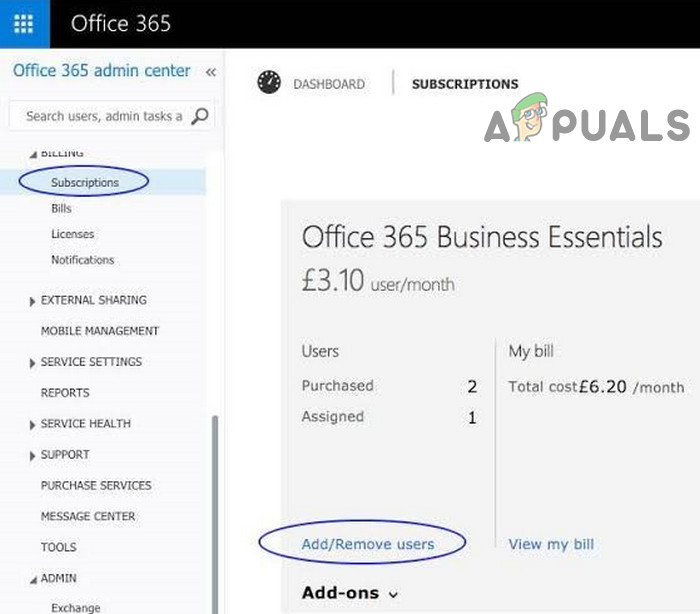
Before creating users, make sure that you have purchased the appropriate number of licenses for the users. For example, if you want to add 20 users, first get the license for 20 users. You can also add the users and assign the license later. But for bulk addition, it is a good idea to assign the licenses at this stage, as it will be easier now.
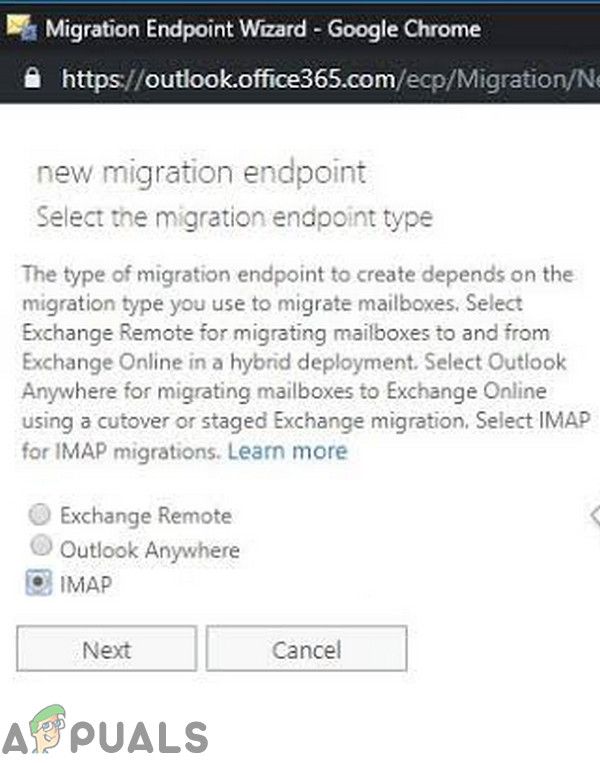
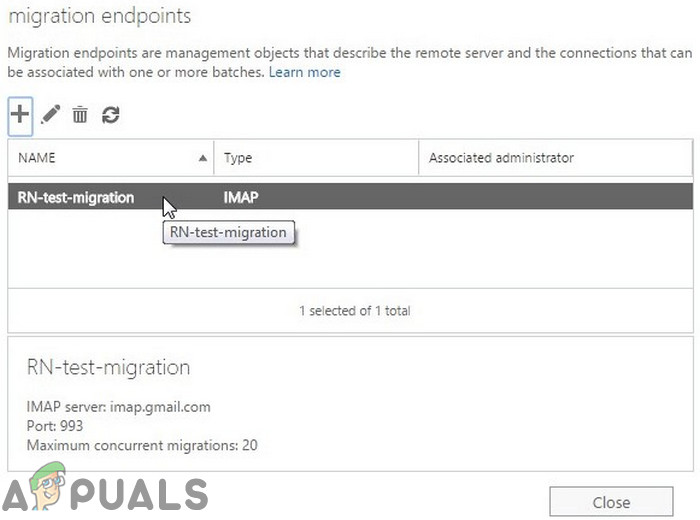
Step-4: Create Migration Endpoints with Gmail IMAP
Office 365 establishes a simplified communication channel with Gmail to complete migration, called migration endpoint. After creating users in office 365, we will create “Migration Endpoints” in 365 to connect point to Gmail and then migrate the emails from Gmail to 365. Select “IMAP” Then click on Next. Leave these two fields empty.
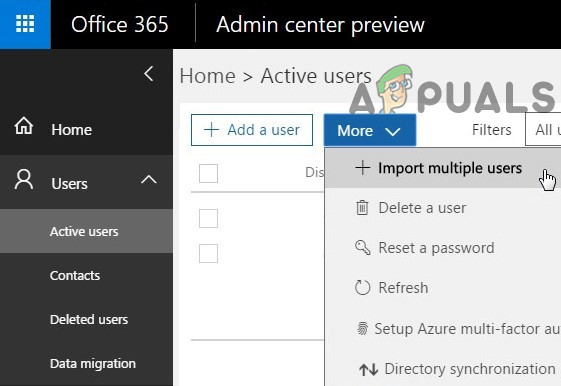
Step-5: Create List of Users for Migration Batch
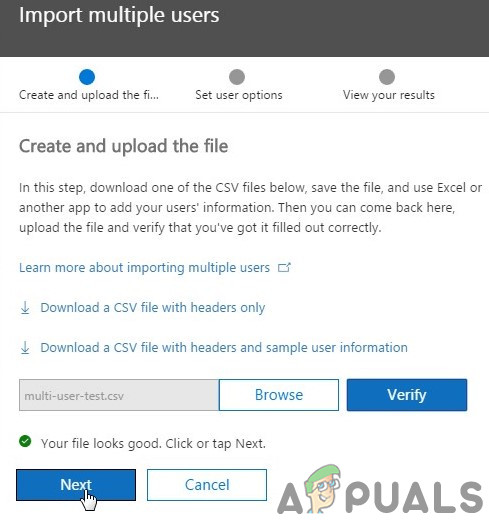
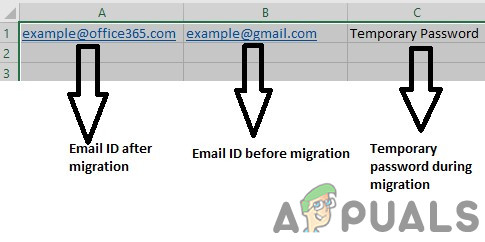
Before starting the migration process, you must first list down every Gmail mailbox that has to be migrated in a CSV (MS Excel) file. The list itself can be migrated in batches or all at once, but only 50,000 mailboxes can be imported in a single batch. Moreover, the CSV file size must be less than or equal to 10 MB and each user’s data must have its row. While creating migration files, you must know the password for every Gmail ID that will be migrated. It is practically impossible to know every password, then reset the user’s password in Gmail and assign temporary passwords during the migration for every Gmail mailbox. This can only be performed by a G Suite administrator. Do note that this CSV (MS Excel file) will be different than the one we used for creating new users in Admin Centers of Office 365. This CSV file will be used only for migrating mailboxes from Gmail to Office 365 for the users that we have already added in Office 365. The 1st line of this CSV file will be a header row with the following three column headings : And from the 2nd row, enter the list of mailboxes that needs to be migrated. The password field will contain a Gmail password for the corresponding mailbox that we are migrating.
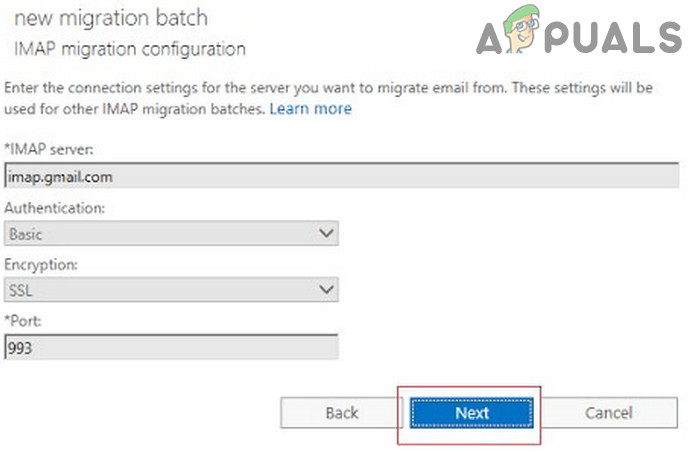
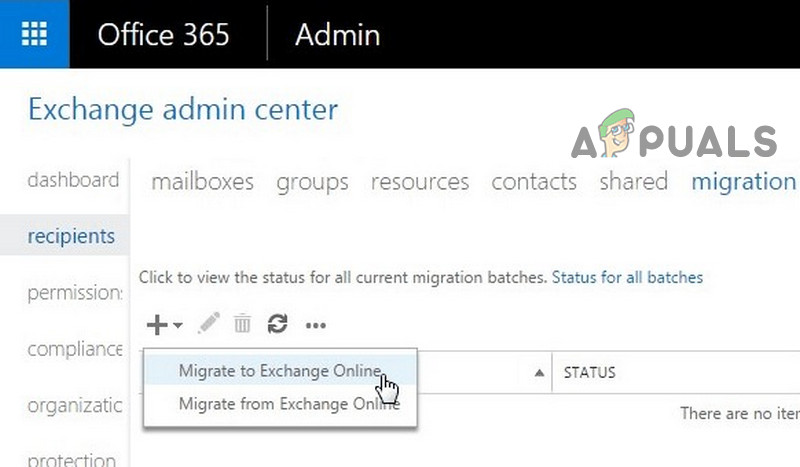
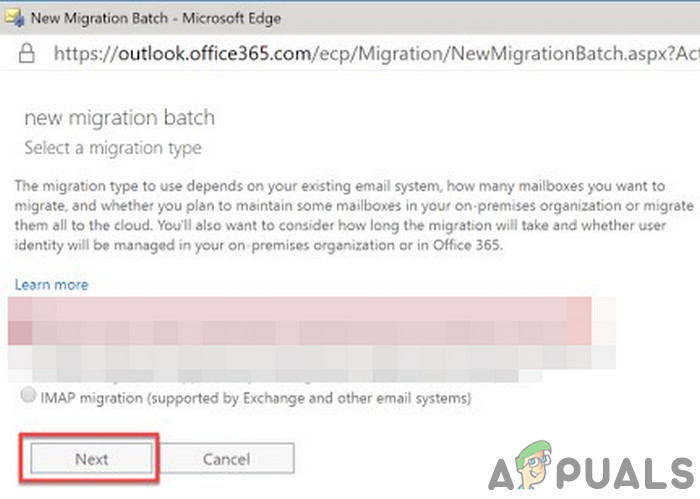
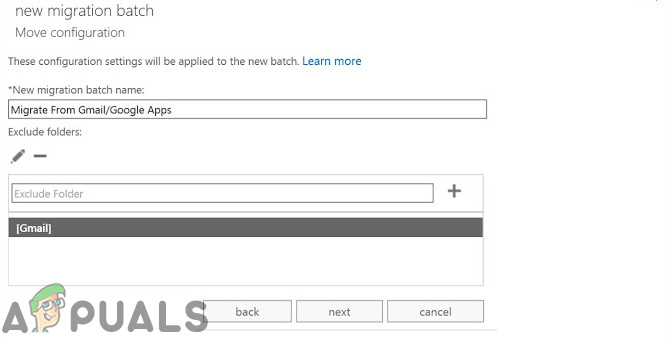
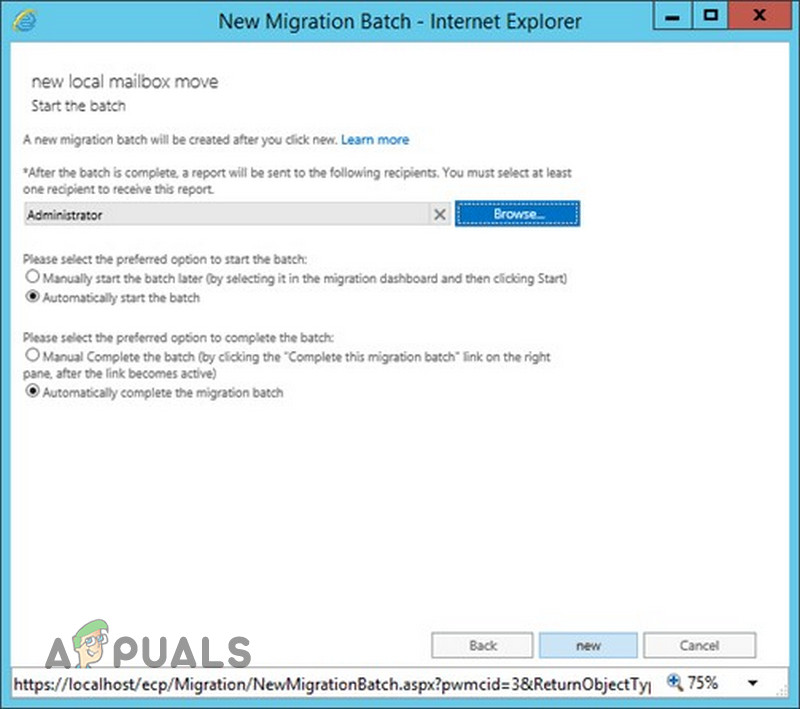
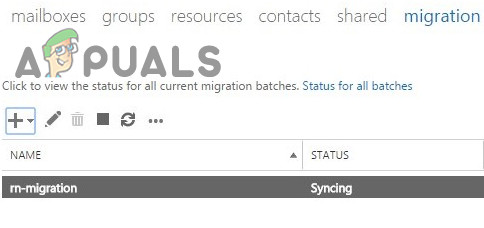
Step-6: Create Migration Batch to Migrate Mailboxes
It is time now to migrate a batch of Gmail mailboxes to Office 365. To ensure the process goes smoothly, first migrate a small number of mailboxes as a test batch. If everything goes fine, you will have an idea of how much time the migration process will take. You can then start the migration process all at once or in many migration batches at the same time (recommended). The factors which impact migrations are the batch size, internet bandwidth, speed, number of simultaneous connections allowed to Gmail. Now select the “IMAP Migration”.
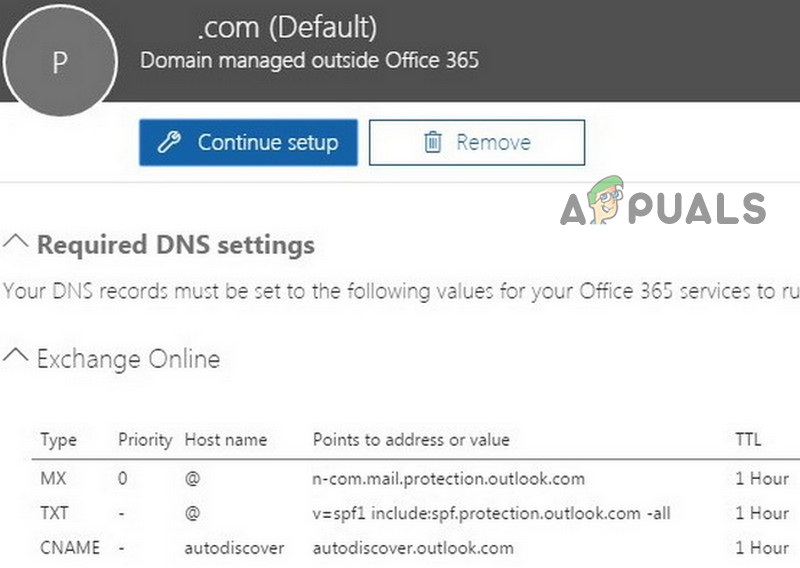
Step-7: Update DNS & Repoint MX Records to Office 365
Email systems deploy a DNS record (MX record) to find out the exact address for the email delivery. Still, the MX record is pointing to Gmail. Now is the point to change MX record to refer to Office 365. After you change your MX record, the email sent to your Gmail Account is delivered to Office 365 mailboxes. The DNS records need to verify that your domain has been changed from Google to Office 365. There are many instructions to change the MX record for different DNS systems. Before you stop synchronization with Gmail, you need to wait a minimum of 72 hours as it takes that much for other email systems to recognize the MX record change. After 72 hours, you can stop synchronization with Gmail. Now Click on the default example.com
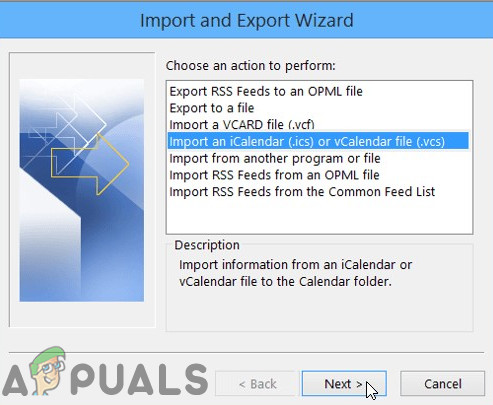
Step-8: Import Contacts and Calendar
Once migration is completed, you can independently import your Google Contacts and Calendar to Office 365. If you have an Outlook desktop version installed, then you can create a CSV file of the Gmail contacts and then import it to the Outlook with the import/export wizard. Also, Outlook offers a wizard to import the Google calendar. Hopefully, you have migrated from Gmail to Office 365 successfully.
Microsoft Office 2019 Will Be The Last Offline Productivity Suite, Users Will…How to Fix Error Reference Source not Found when Printing from Office 2010,…[FIX] Microsoft Office 365 Error Code 0-1012Fix: Office 365 No Internet Connection Error